Santa delivered early this year! Our All-in-One Monero Nodo has arrived. Let’s unbox it, see what’s inside, and share our first impressions. This Monero node promises to be a plug-and-play solution, designed for anyone, even those with no technical background.

The Monero Nodo is an ongoing project that will continue to evolve, with planned upgrades and changes to both its functionality and graphical user interface.
Please keep this in mind
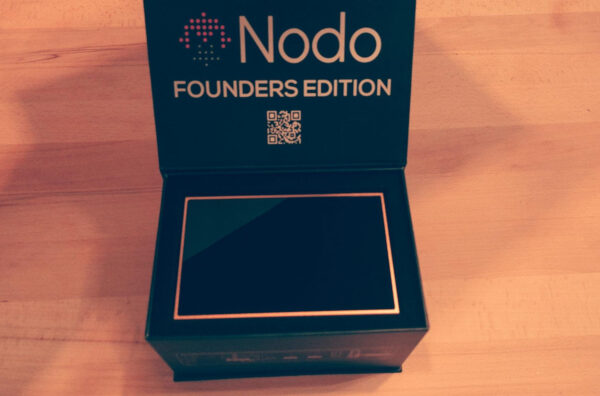
The box is elegantly designed and well-padded with foam, offering good protection for the hardware inside. A QR code leads to the manual, though it would be helpful if the link were also available on their website (which, of course, we ignored and never scanned :P).
// Connectivity
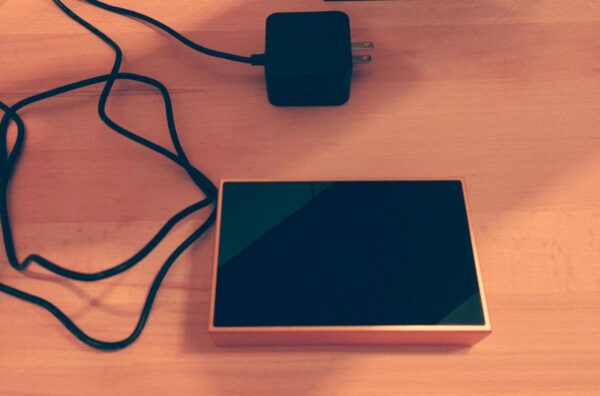
A USB power supply is included. While the main power connector is a standard USB-C connector, it’s important to use a certified USB-C PD, 24W max power supply. Anything lower could corrupt the data and require a system re-installation. An assortment of adapters ensures you can plug it in anywhere around the world.
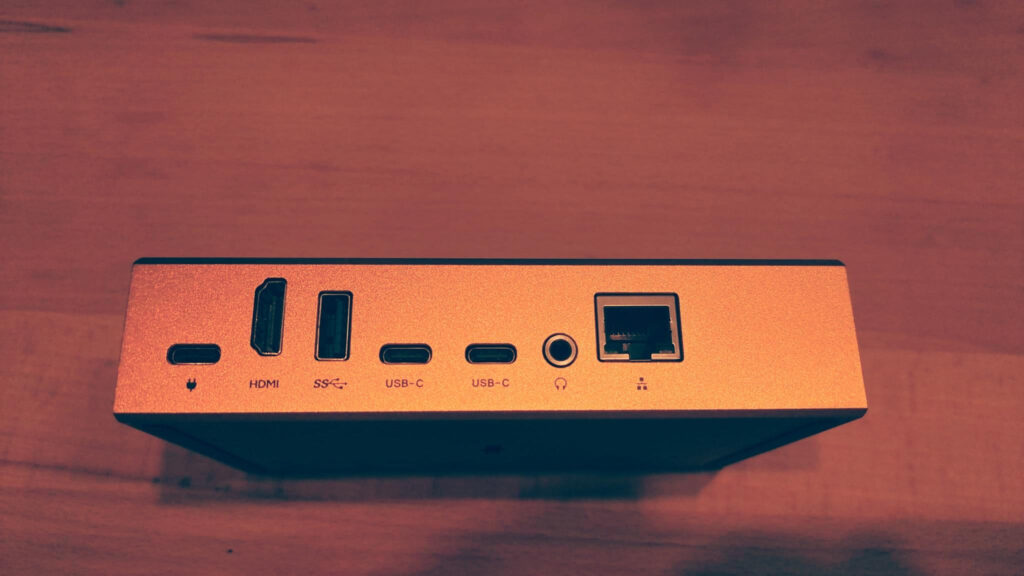
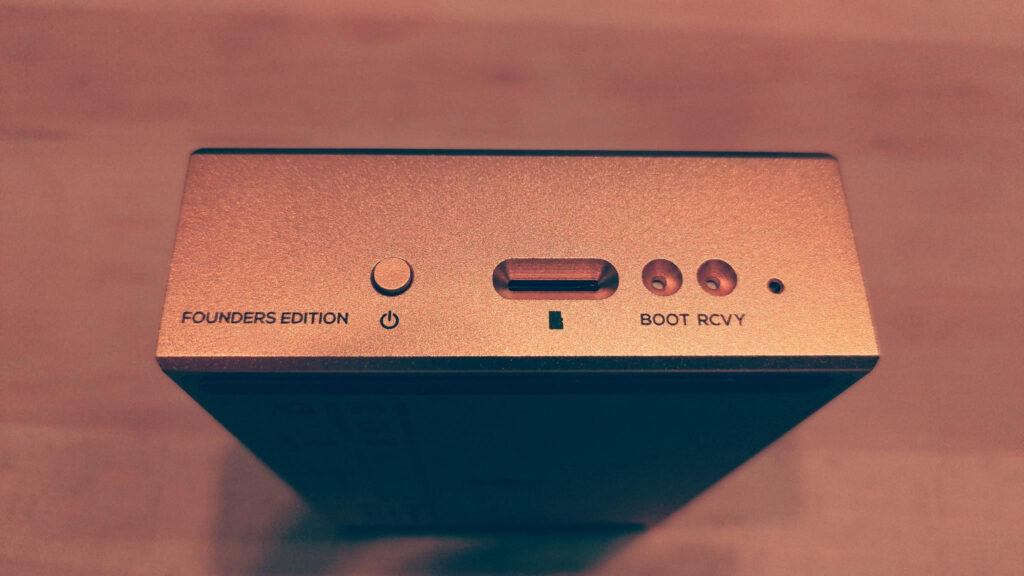
The connectors on the back include: USB-C power input, HDMI, two USB ports, an audio jack, and an Ethernet connector. The connectors on the side include: the power button, SD card slot, BOOT & RCVY switch, and a red LED.
Once the power cable is plugged in, the Nodo will boot automatically. Ours came with a problem preventing auto-updates, so we had to flash an SD card and install the update manually. This is not typical (we had a beta version), and updates should usually be automatic.
The initial setup respects privacy, only requiring you to choose an SSH password and a PIN—no other information is needed. The Monero Nodo will automatically download and sync the Monero blockchain, with the process typically taking less than 48 hours after calibration.
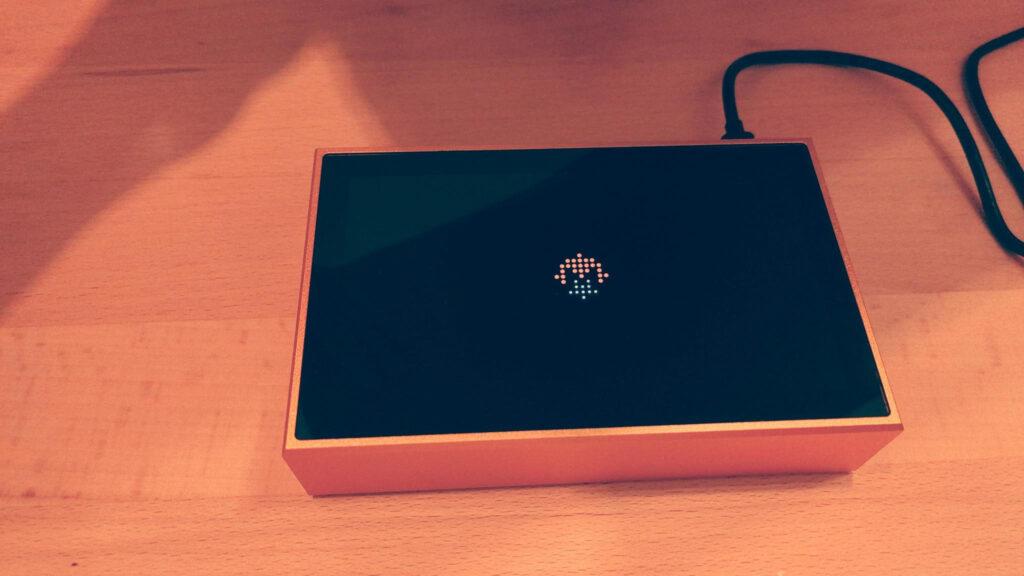
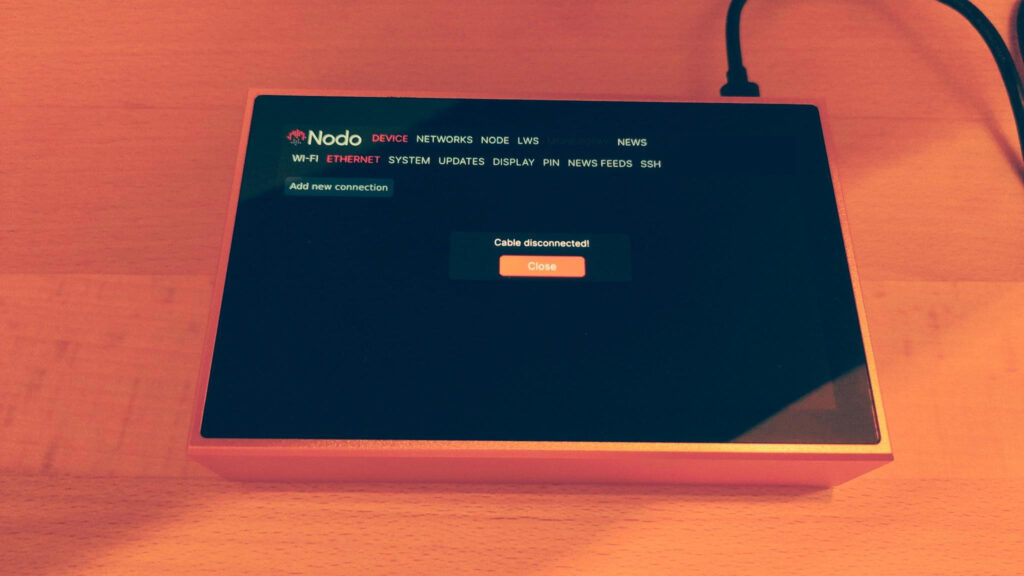
This depends on your bandwidth. We recommend starting with an Ethernet cable, and once the process is complete, you can switch to Wi-Fi. It should be able to handle the incoming data.
// Opening the Nodo
The Nodo’s foam base protects surfaces and hides the four Phillips screws underneath—a clever touch from the design team. Also note how the bezel around the screen is slightly raised to provide a protection against scratch if you turn it upside down. That said, visible Torx screws could make tinkering even smoother and more durable. But great design overall.
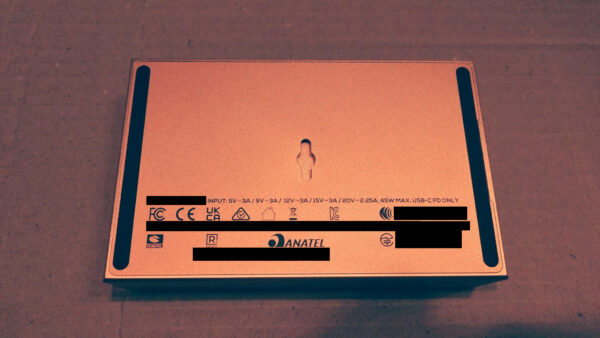
For the hackers among us, take note: place the unit on a padded surface before opening to protect the touchscreen. Store the screws in a safe spot to avoid losing them.
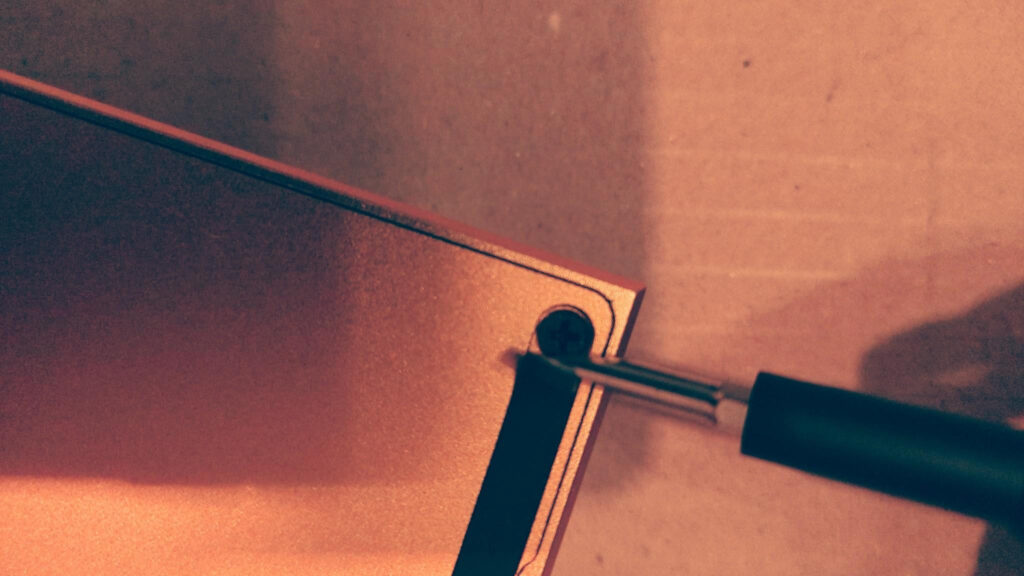

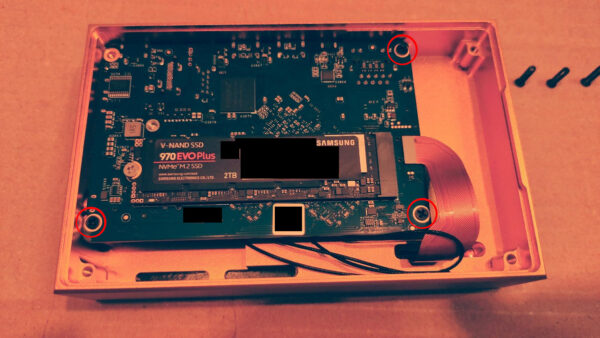
Finally, gently lift the back panel. Watch out for the small notch (visible on the right in the picture) that could make lifting tricky. Opening it reveals the main board, complete with an embedded Samsung SSD for storing the Monero blockchain. To remove the main board, you’ll need to unscrew three more screws, highlighted in red in our example. Interestingly, one screw is “missing”—likely clever design choice, as the bottom panel screw provides the necessary support.
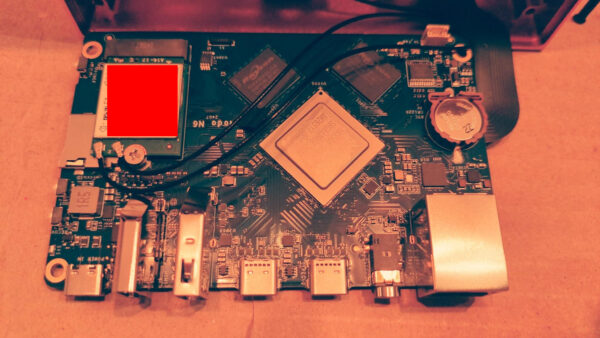
Inside, you’ll find the Wi-Fi module (highlighted in red) and two black wires for the Wi-Fi antenna, which run below the touchscreen. All major components are modular and easy to replace if needed—a repair-friendly design we truly appreciate. The CPU is in direct contact with the metal case, which acts as a heat sink. With no active cooling (no fans), the design is completely silent—likely sufficient to dissipate heat during normal operation.
// Final Considerations
Overall, this all-in-one Monero node is a solid piece of hardware and software, built for years of reliable service. The user interface can be tricky to navigate, especially for those with larger fingers. A bigger dashboard with clearer icons could greatly improve usability.
Hardware wise, Torx screws are more reliable and support more screwing/unscrewing cycles. Its modular components make future upgrades possible. Please note that Monero mining was removed, likely due to hardware limitations. A version with active cooling could open the door to more powerful applications—something exciting to consider for the future. Like many single-board crypto currency nodes, long-term support remains uncertain, but keep in mind it is possible to install a standard Linux operating system like Debian or Ubuntu and use it as a computer. Watch our full review of the Moneronodo here.

Escape The Technocracy (Video Course)
Set up a new digital life outside the grasp of The Technocracy.


